The new Mammoth update brings many subtle innovations, but also solid and robust improvements. Your team will be up to any task, no matter how big. 🦣
This update has the following new features for you:
Projects arranged in a timeline view
Having a better overview is always a good thing. That's why we introduced a new option for the project overview: the timeline view. This way you can not only view your tasks, but also all your projects in a timeline context and plan them even better. To do so, go to Projects in the main menu and set the switch at the top to Timeline.
The quick filters for selecting the displayed projects ("All", "My active", "All active" and "All closed") have moved to the dropdown menu next to the view selection. We have re-added the "All" field here due to your frequent requests. Selected filters remain active even when you change the view.
In order to see a project in the timeline, it must have a start and end date, similar to what you already know from tasks. When a project is displayed in the timeline, you will automatically see its milestones – as long as you have the appropriate permission to see them. By simply hovering over a milestone you can see its name.
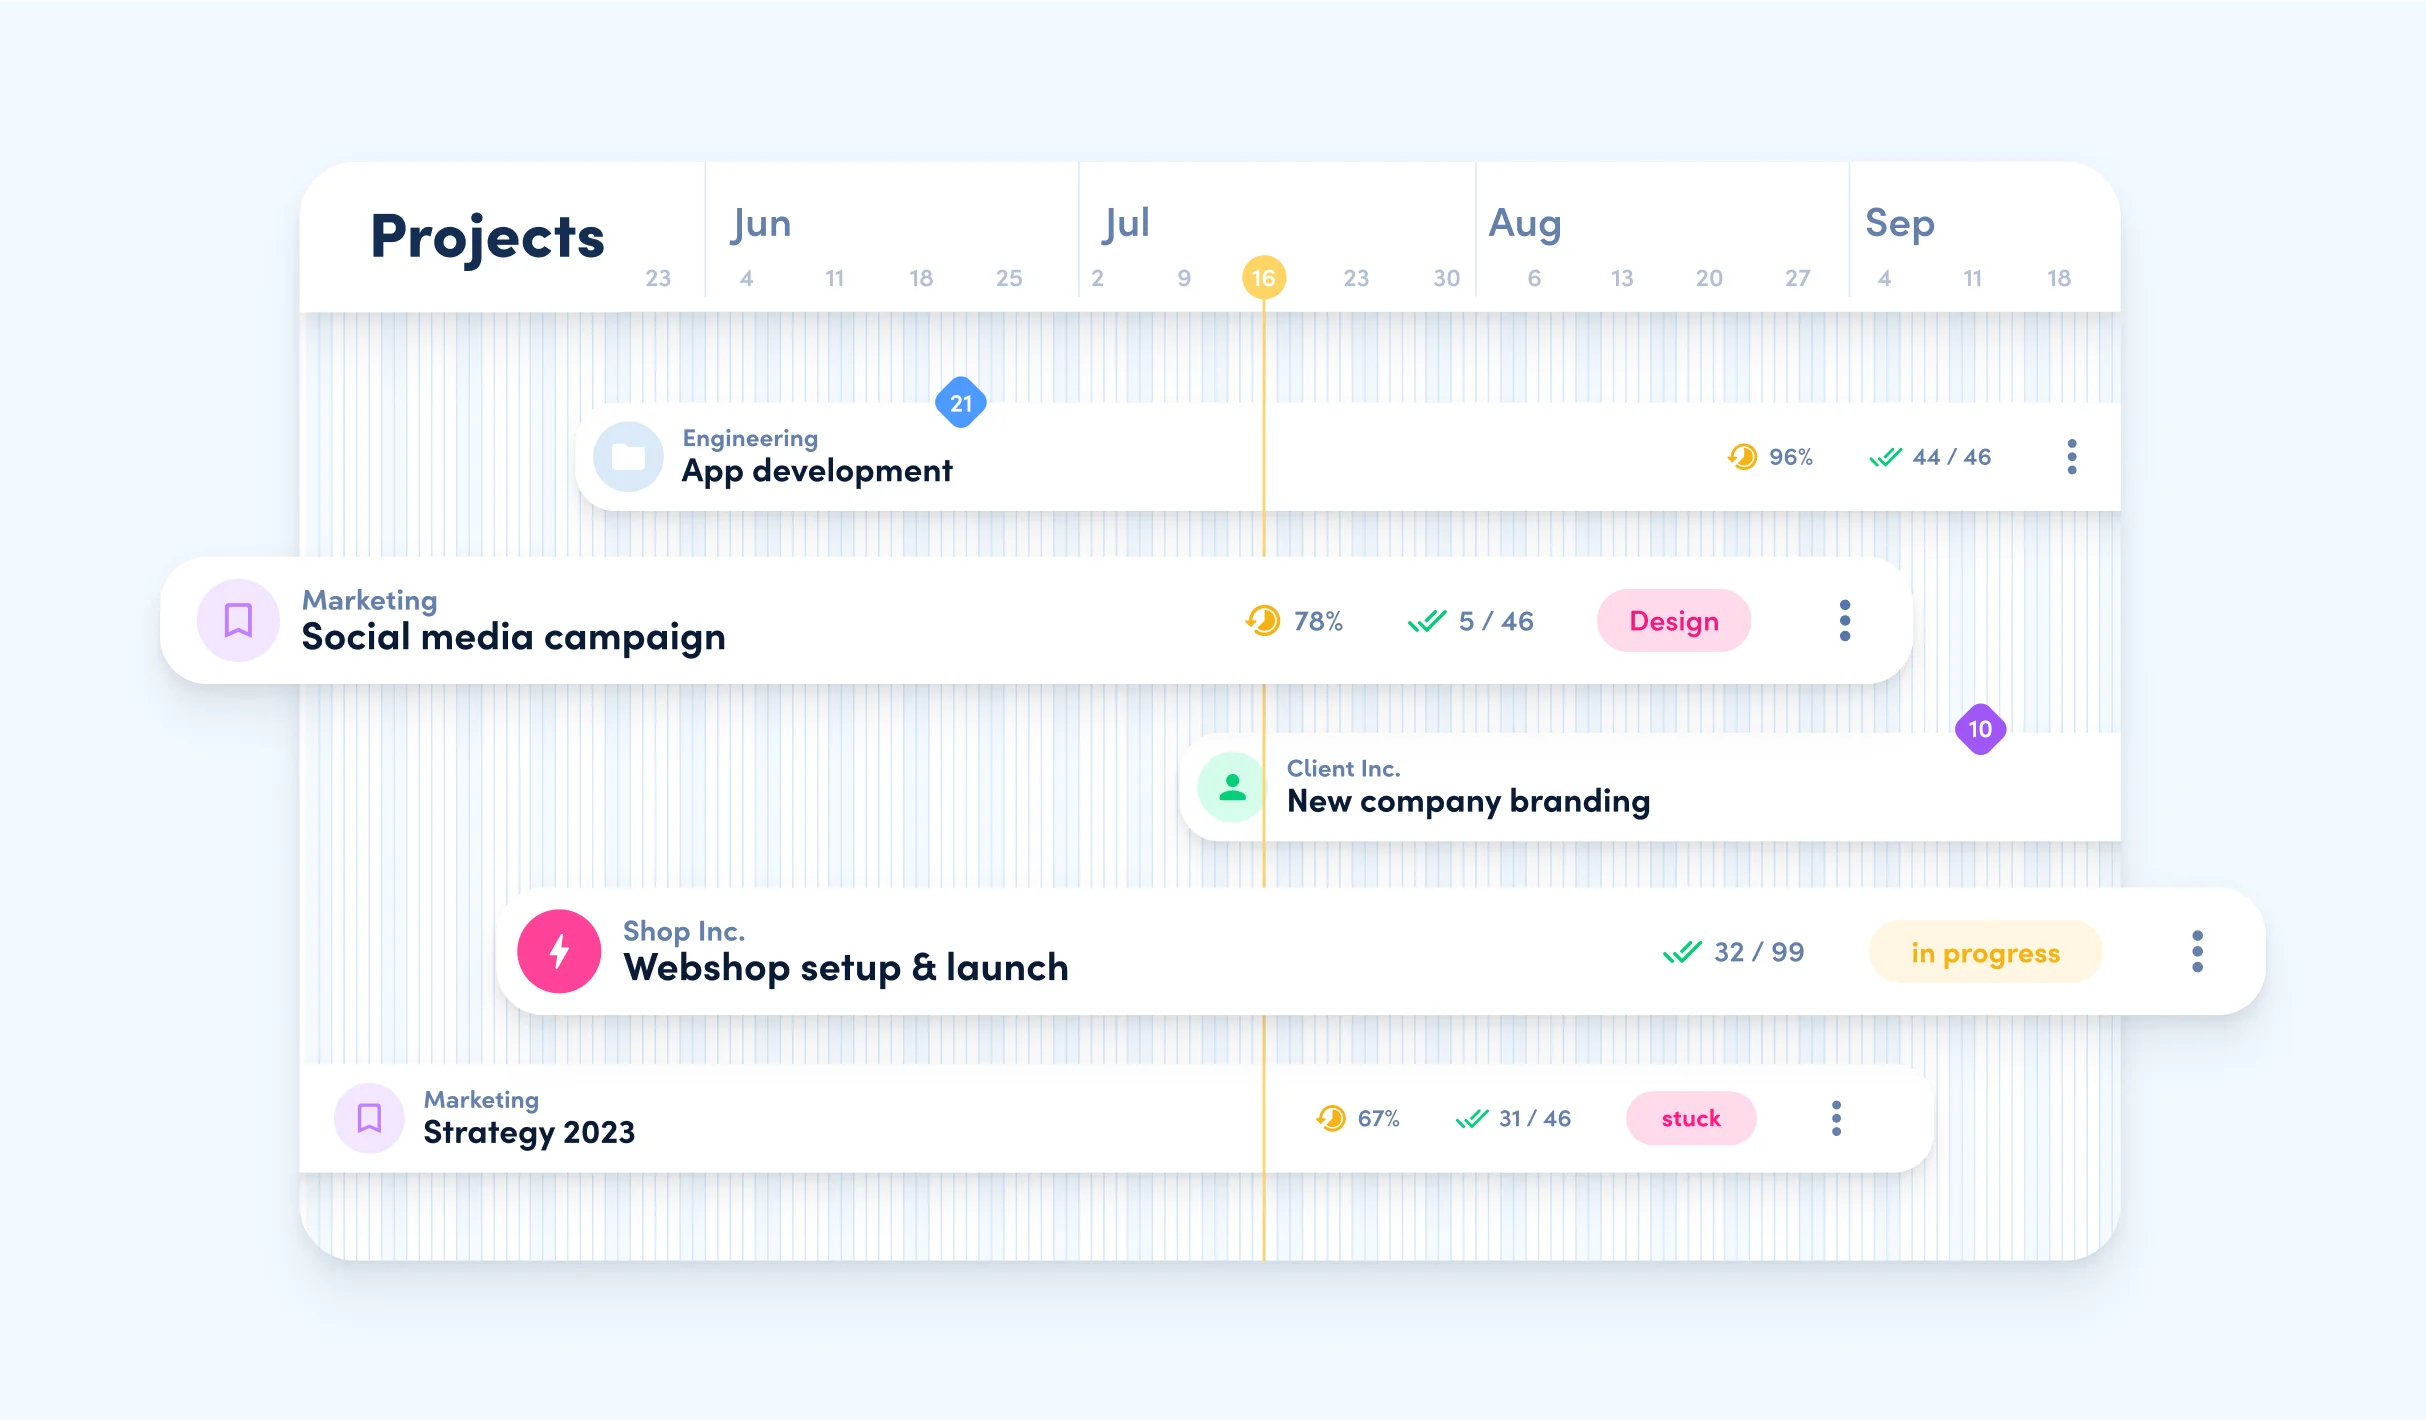
Always keep track of your projects in the timeline view, even over longer periods of time, by using multiple zoom levels. Projects are automatically sorted and displayed in the most space-saving way possible.
You determine which details are displayed within a project yourself using the column selection, just as before in the list view. If you click on one of the displayed projects, you can directly access the specific project details as usual.
Individual working hours and more precise workload calculation
Precise workload calculation with individual working hours? No big deal anymore. Instead of the total weekly working time, you can now set an individual working time per weekday for each user. To do so, either go to your own user profile as before and adjust your times, or click on the workload overview next to the user you would like to edit directly in the planner.
This way you can set individual capacities for each day of the week, from 0 to 12 hours per day. If 0h is entered for a day, the user is generally not available on that day.
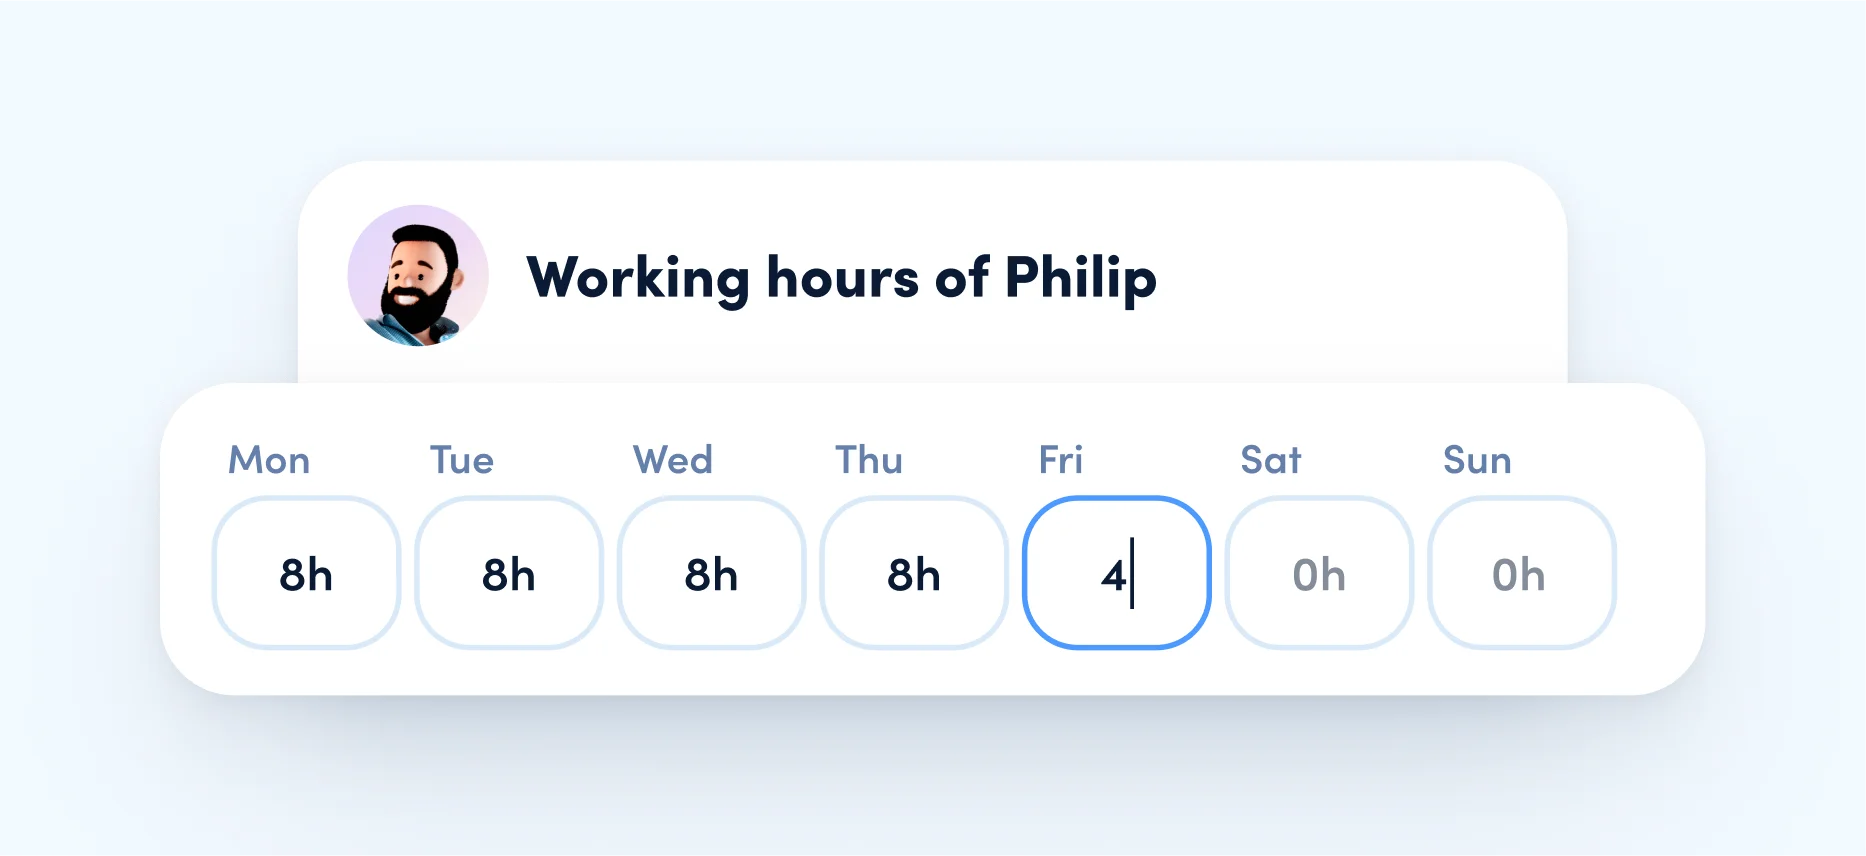
Changes to individual working times are immediately taken into account in the planner. This is illustrated by the gray, dashed line in the workload overview, which depicts the corresponding availabilities.
If the working time varies on different days of the week, the automatic distribution of planned hours, e.g. from projects or tasks, is also affected. The distribution is always done relatively to the available time.
A quick example: We have a task with 8h planned effort and 2 days duration. Paula has entered varying working hours for the next 2 days - 8h on the first day and 4h on the second day. We schedule the task with Paula and the planner automatically distributes the task to 5:20h on the first day and 2:40h on the second day. Thus, the same proportion of Paula's available daily working time is used for the task on both days.
Not only daily working hours can now be defined more precisely. With the new half-day absences, you can also include half days of vacation or other absences more precisely in the planning. There are various options to set this up: By dragging and creating, by resizing existing absences or by selecting "half-day only" when creating or by editing an absence.
Improved calendar synchronization
The awork planner and your own calendar are made for each other. That's why we have worked on our calendar integration and improved it extensively to bring your planning game to the next level. Especially the synchronization between the awork calendar and the individual Google or Microsoft calendars is important here.
Previously, if a task was scheduled in the planner's calendar view, awork created an additional calendar for it in your Google or Microsoft calendar. From now on, a target calendar can be selected directly in awork, such as the main calendar of your own Google or Microsoft account. This saves you one step in scheduling and allows you to get straight to the important things.
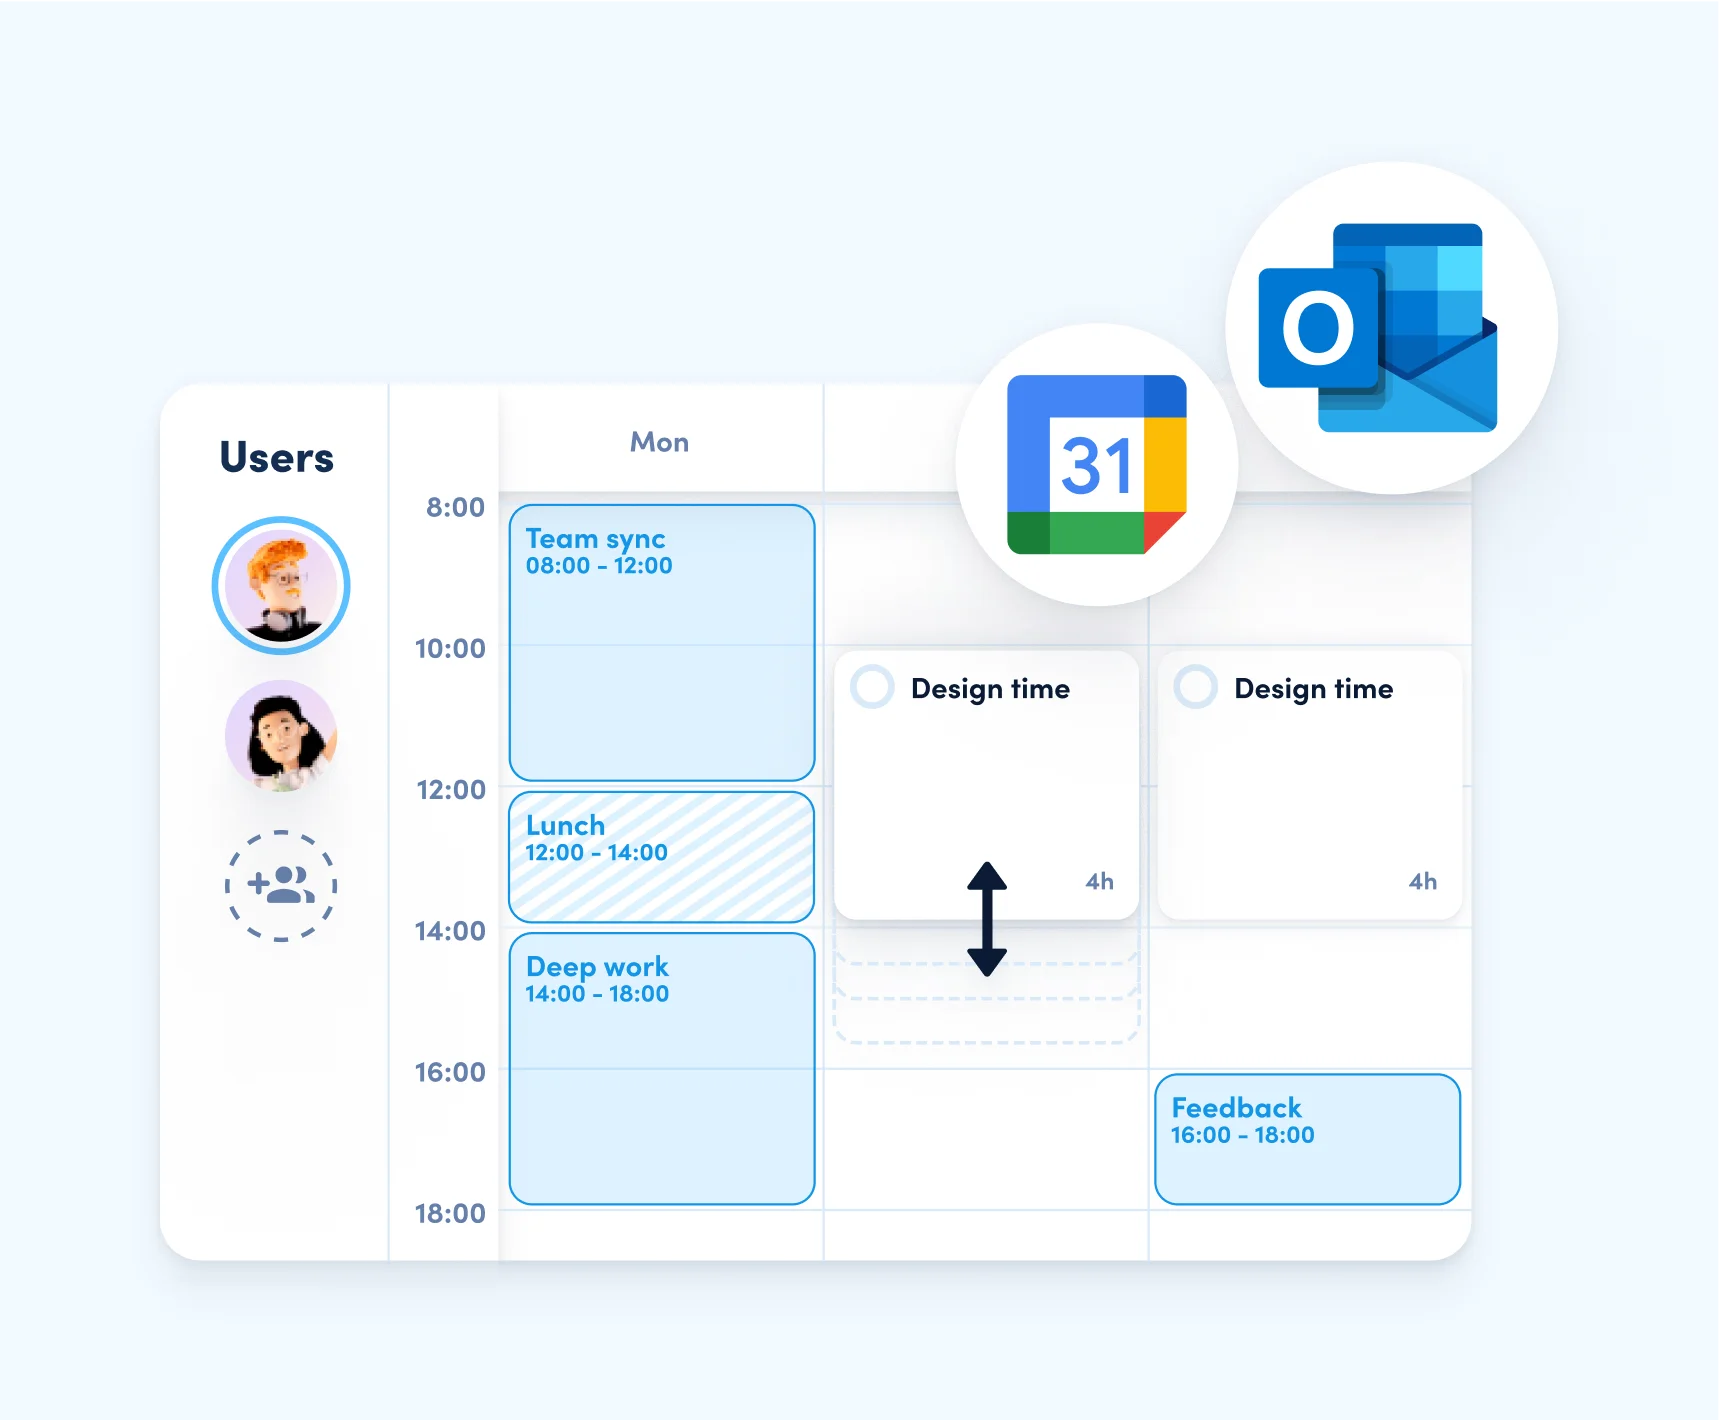
Tasks that are transferred from awork to the calendar and displayed there as appointments are recognized as such during synchronization and are therefore not displayed twice in the awork planner.
The desired target calendar can also be adjusted later in the settings of your calendar integration.
Appointments in your calendar where you are "available"/"free" instead of "busy" will be recognized and understood as such in awork. They are shown dashed in the awork calendars in the planner and under My planner and will not be considered in the workload calculation.
Personio integration for absences
The biggest aid for perfect absence management so far? Our new Personio integration. With the help of this new integration, awork automatically retrieves information from the HR tool Personio about entered absences in order to map and take them into account directly when planning in awork.
To set up the integration, simply select "Personio" in the integration library and follow the setup instructions. In order to use the integration, you must have a Personio account and the corresponding access data, which has to be stored in awork.
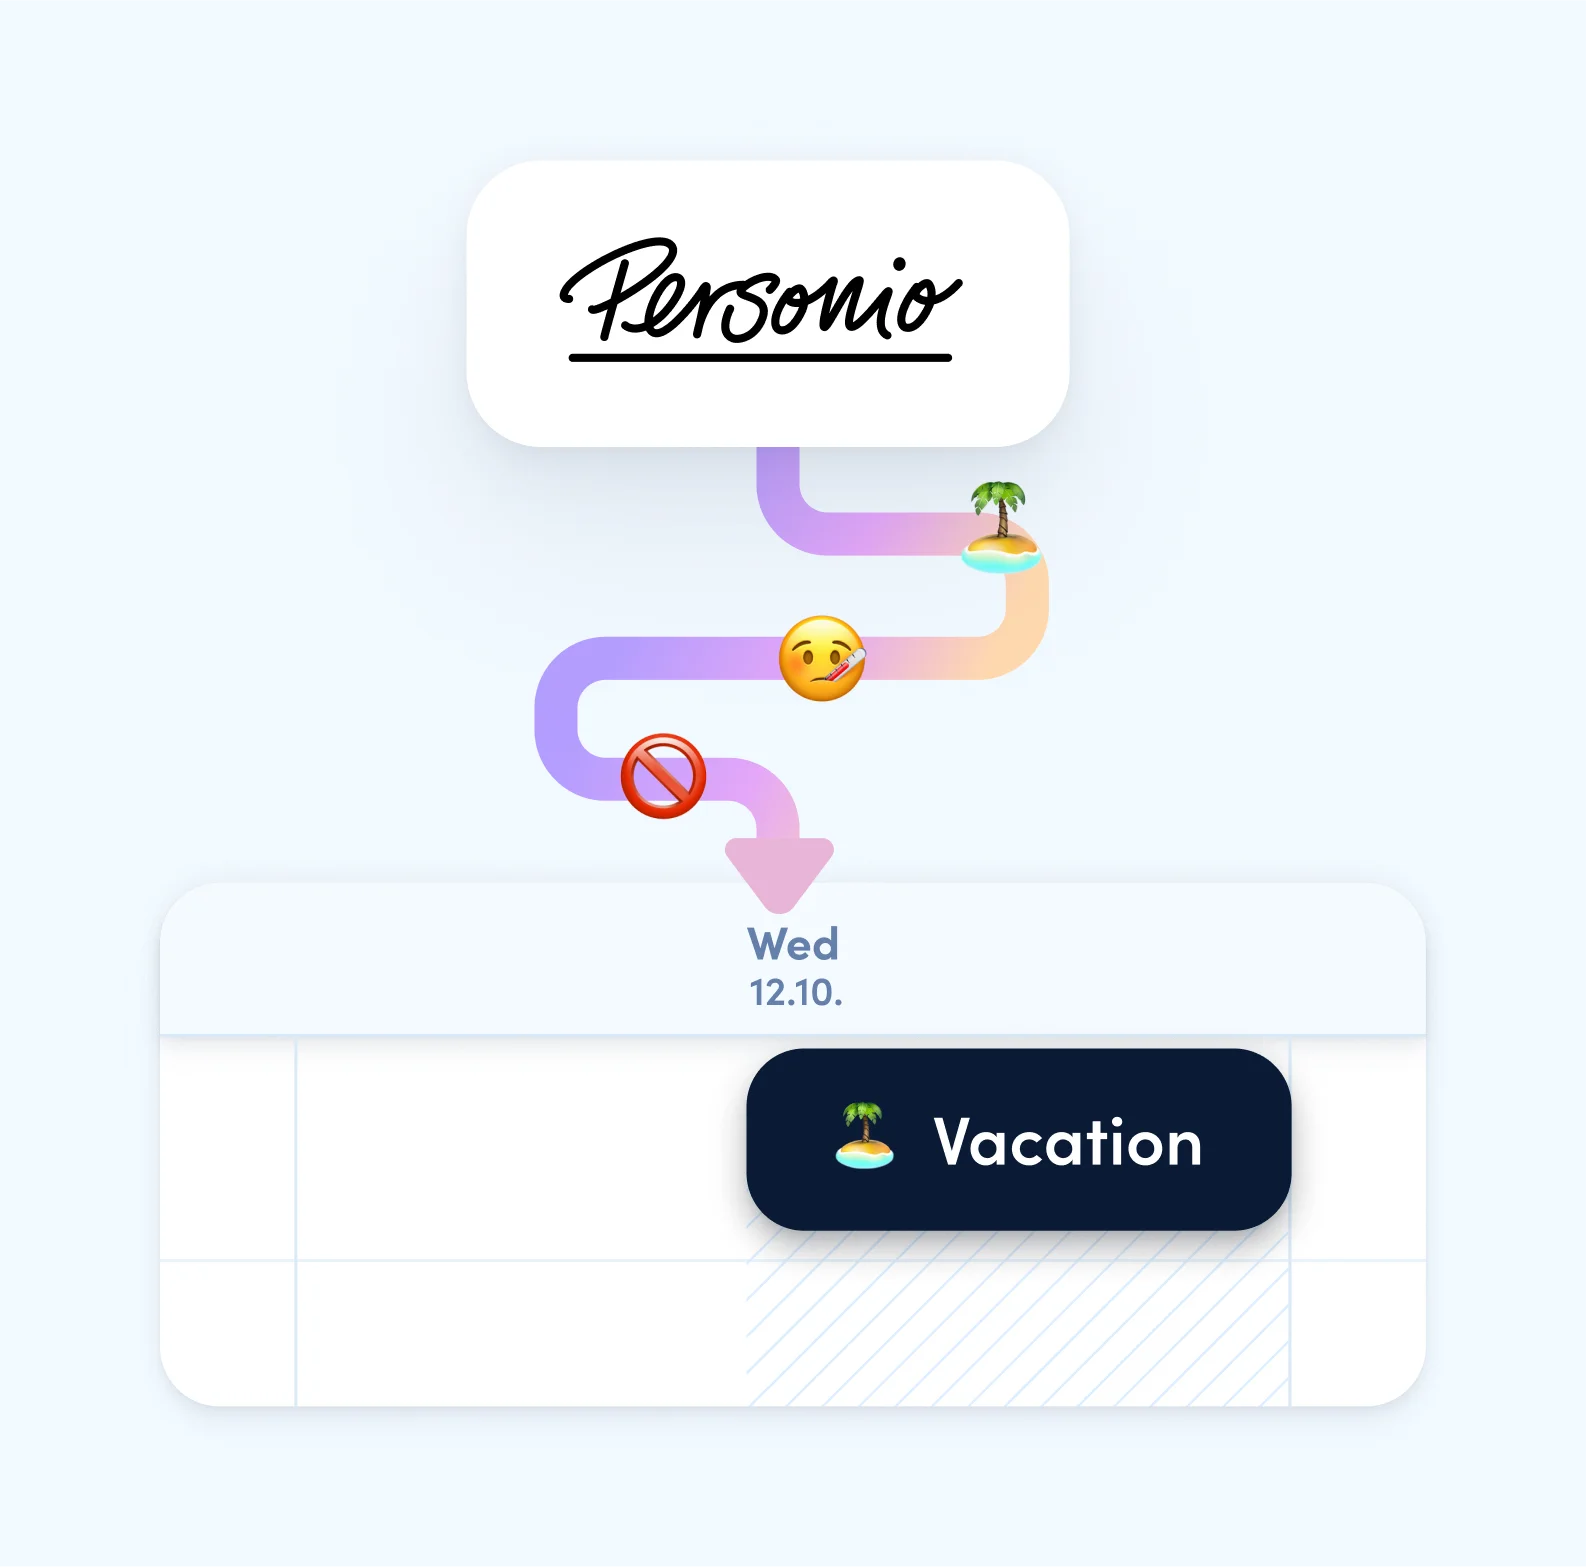
Important: The matching of the users is done via the account email address, so it has to be identical for both accounts - awork and Personio.
Once set up, awork synchronizes with Personio 1x per hour and updates all absences, whether new or adjusted. Personio absences are marked accordingly and cannot be edited or deleted in awork. If the entire Personio integration is removed, this will also delete all Personio absences from awork.
Besides the Personio absences, you can of course create, edit or remove other absences directly in awork as usual. However, these will not be transferred to Personio.
More info about the integration and the setup can be found here.
Many usability updates in the planner
You love the planner as much as we do. Therefore, the continuous improvement of its usability is especially close to our hearts. In this release we were able to pick up and improve many more individual aspects.
Starting with small elements in the timeline, such as short tasks or projects. These can now be viewed in full by hovering over them with the mouse if the small width of the element does not allow this in the normal view. Smaller items now automatically widen on interaction, revealing their full name and other details.
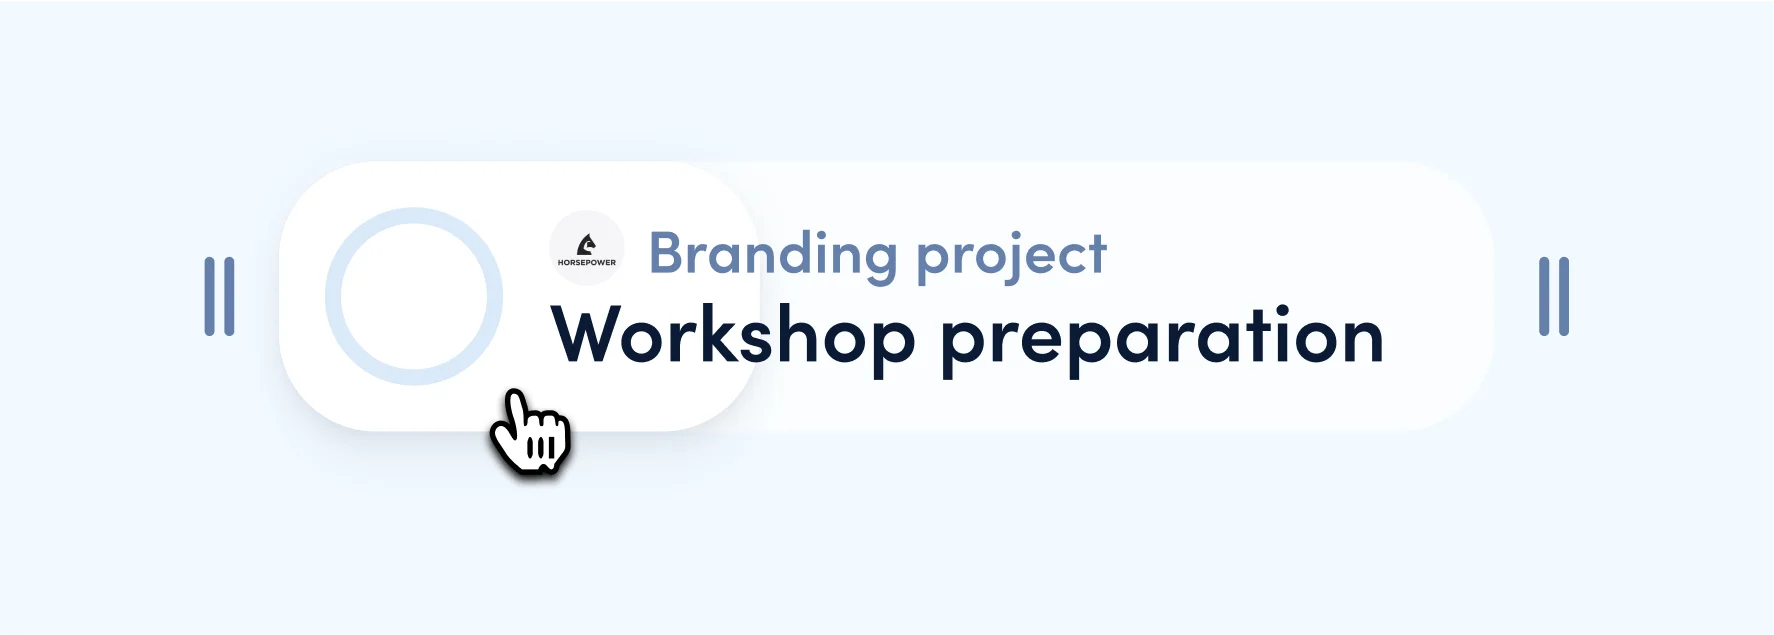
Projects have their own small action button (3 dots) at the right end of the element in the Workload and Timeline planner views. This button can be used to quickly and easily make changes to the project or to directly access in-depth project planning in form of the specific project timeline.
We have also optimized the process of how users are assigned in the planner when tasks are dragged and dropped into the timeline or calendar. A new hint at the bottom of the screen now lets you choose whether only the target user on whose row the task is dropped should be assigned to the task, or whether all existing users on the task should remain assigned.
Tasks are often scheduled using the calendar view in the planner and are placed on the free slots in the weekly overview. In doing so, resizing the already allocated task was often too fuzzy to prepare the day perfectly. Now a more precise adjustment of the task duration is very easy. Tasks scheduled in the calendar can be reduced to a minimum duration of 5 minutes and enlarged or reduced in steps of 15 minutes by just using the mouse.
Even further fine-tuning is possible via the scheduled task's own action button (3 dots) - here you can manually adjust the time in 5-minute steps and also, for example, the day on which the task is due.
New awork triggers in Zapier
Zapier is a great solution for automating processes – not just for the IT nerds among us. With Zapier, you connect awork directly to your favorite tools to set up automated processes between different programs - all intuitively and without a line of code.
So we've continued to work on our integration and added two new triggers: "Task updated (changed)" and "Project created".
With these new triggers, you can set up many convenient workflows that will make your day-to-day with your tool stack even more enjoyable.
Example 1: When a certain "task is updated", send a message in Slack to channel X.
Example 2: When a "project is created", create a new folder in Google Drive.
The awork team wishes you lots of fun with the new updates - be ready for the next mammoth task.
By the way, not all mammoths were as huge as generally assumed: For example, there once existed the Cretan dwarf mammoth, which barely made it over 1 meter in body height at about 300 kg. 💜🦣


