With awork's workload overview, you have the perfect tool to keep track of your team's workload and plan your resources efficiently. In a dynamic work environment where tasks keep pouring in and availabilities change constantly, precise capacity planning is key to your agency's success.
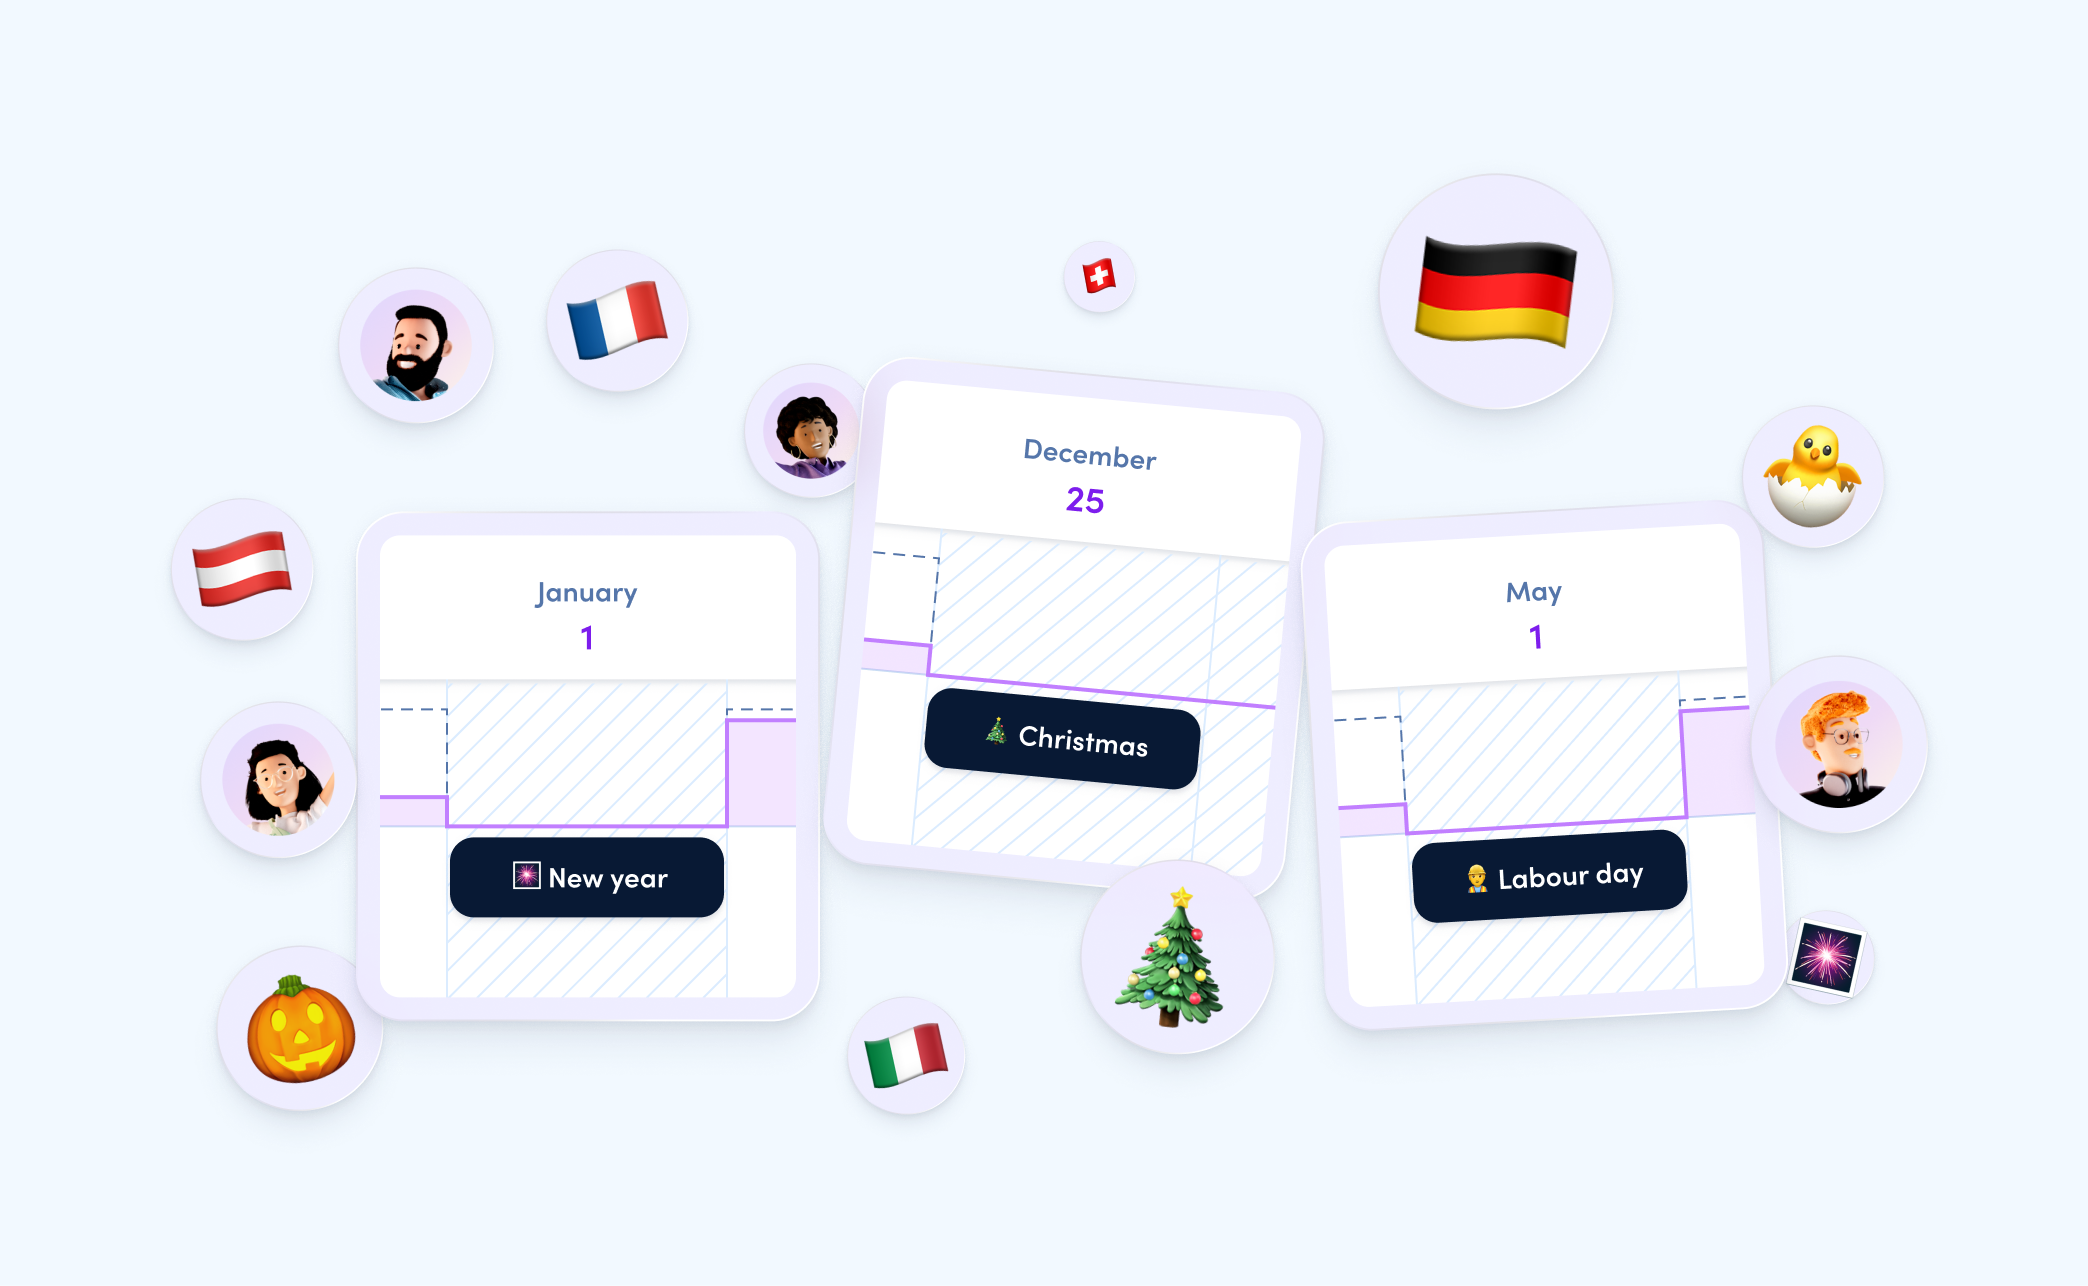
To help you plan your team’s capacity even more accurately and ensure all absences are visible in the workload, we’ve added a long-awaited feature: regional holidays directly in your planner! From now on, you’ll have zero workload on holidays. These will be automatically marked as "absent" – no manual input needed. This way, you can avoid planning work on days when your team is actually off, making your resource planning even more transparent and efficient!
In addition to holidays, we’ve included several other cool features for your planner: create workspace-wide absences for all users and ensure that events like the next company holiday party are workload-free. With the new date range selection in the planner timeline, you can now view your team’s available capacity with just one click. Plus, you can hide completed tasks from the workload timeline – and more! In the following article, you’ll find all the key details about these new features.
Integrate public holidays into your planner
[.toc-name]Public holidays in the planner[.toc-name]
From now on, public holidays can be automatically accounted for in your awork planning. Once set up workspace-wide, you can easily select the appropriate region in your account settings. The holidays from this region will be automatically added to your planner, and your workload for those days will be set to "absent" – meaning no capacity will be available on those days in your account.
Regions are created by an admin on a workspace-wide basis and are then available for all users in their account settings.
Create workspace-wide regions
In the workspace settings, you’ll find the new Time off tab. With writing permissions to the user planning, you can manage absences and regions for the entire workspace there. The tab is divided into two sections:
Public holidays: This is where you create and manage regions for your workspace. Here’s how to create a new region:
- Click on Add to create a new region. Give the region a unique region name, select the country and the desired region from the pre-set list provided by awork
- Optional: Set the region as the default so that newly invited users are automatically assigned to this region
- Via the action menu next to each region, you can assign users to that region with a single click on Assign Users
- Next to each region, you’ll see which users are assigned to it, as well as the number of absence days associated with this region for the current year
- The regions you create will then be available for users to choose from in their account settings
Workspace absences: This is where you can create absences that apply to the entire workspace. More details on this in the next section
Select a region in account settings
To set or change your individual region as a user, go to your profile in the top-right corner of your workspace and select Account settings. Under Availability, you’ll find the new Public holiday region option. Here, you can choose from one of the pre-defined regions, and your workload will automatically adjust to the holidays in that region.
No more manually entering holidays – with regional holidays in awork, your workload stays up to date and easy to manage. Now, you can plan even more realistically with your team, as the actual capacity is directly visible in your planner.

Create workspace absences
[.toc-name]Workspace-wide absences[.toc-name]
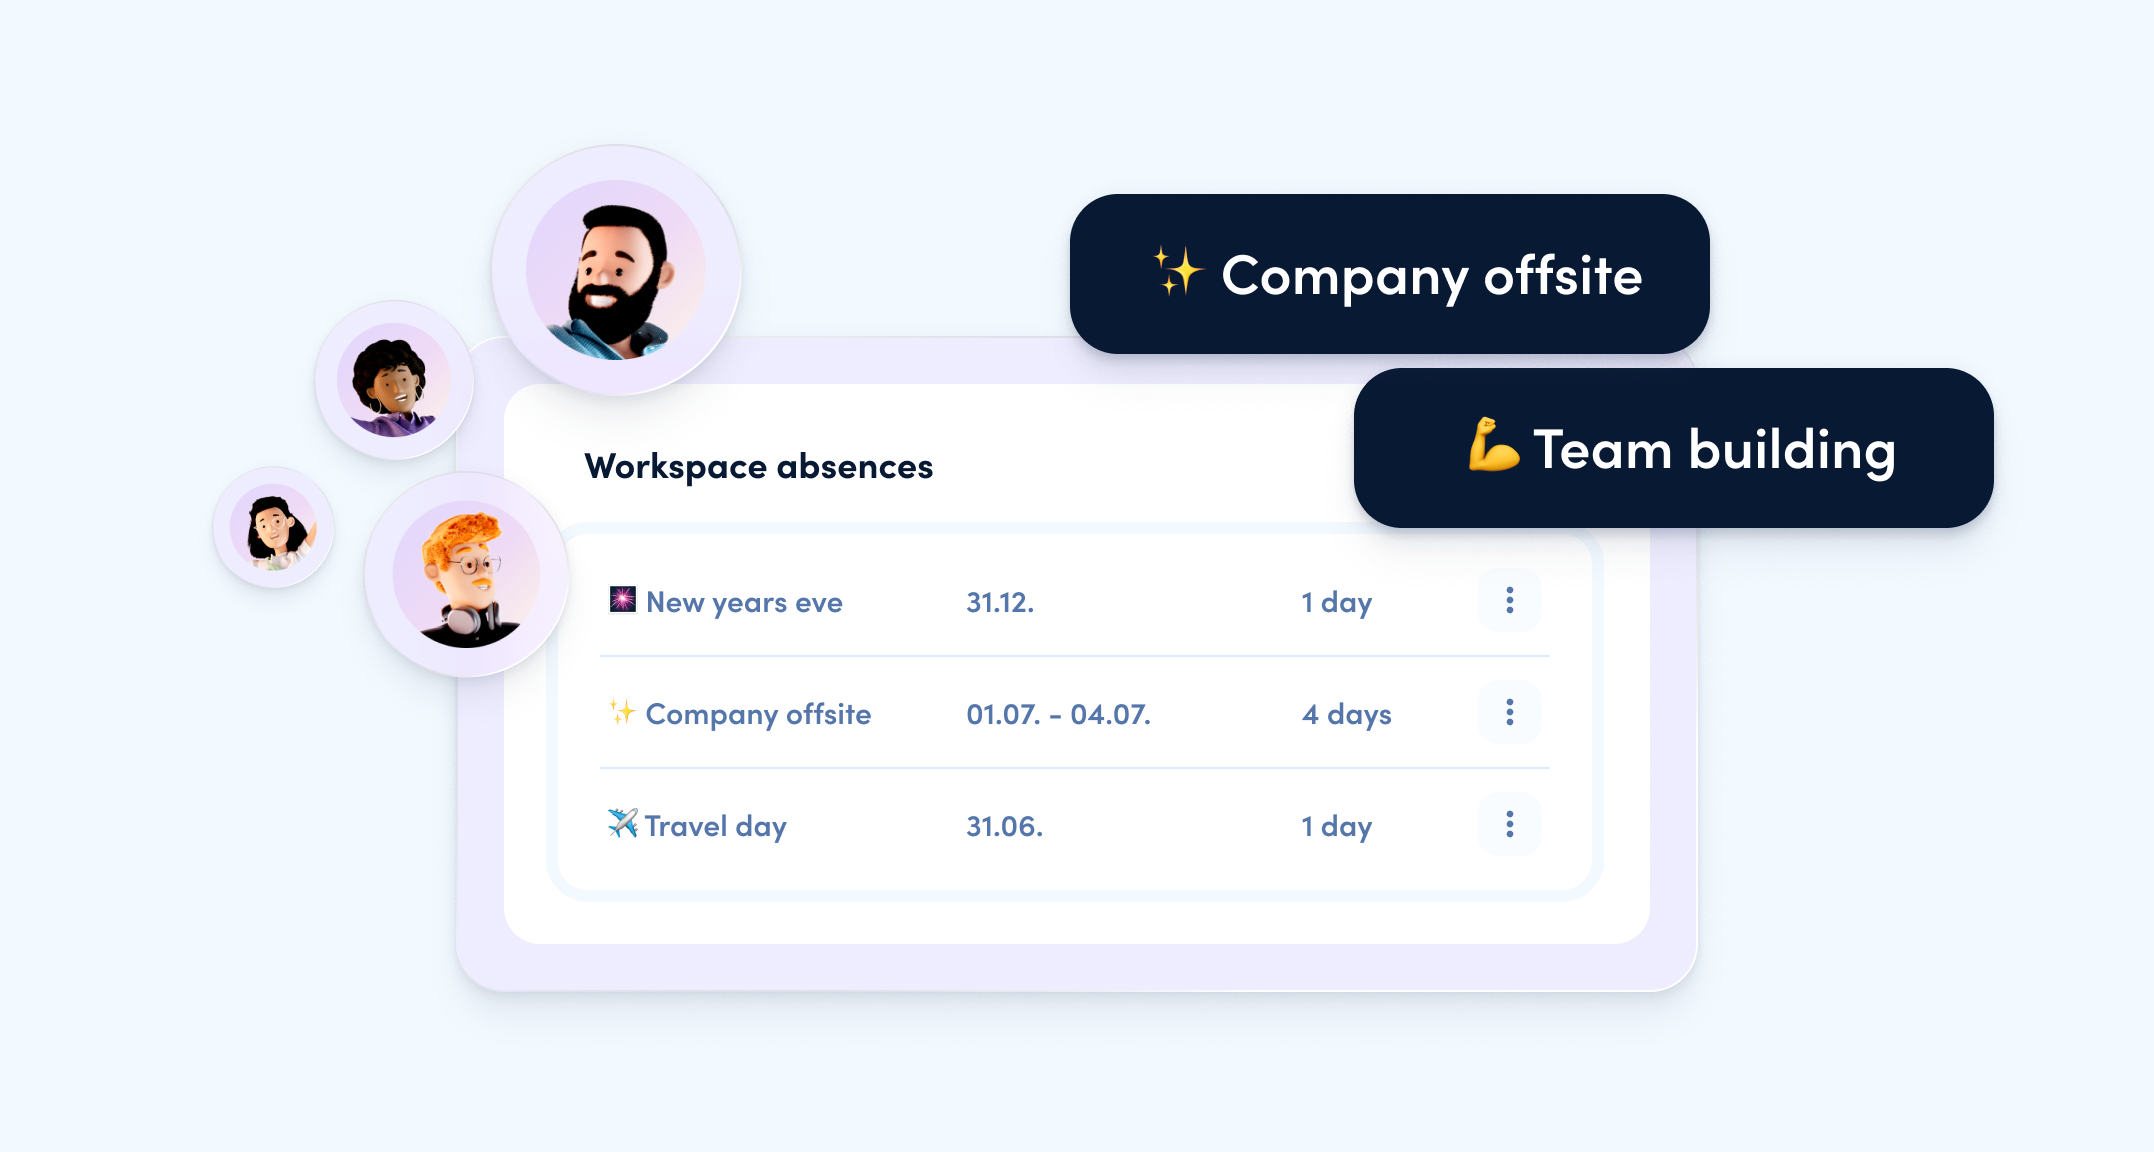
Is your next offsite or holiday party coming up? To ensure that such company events are taken into account during capacity planning, you can now set up absences that automatically apply to all users in the workspace. As an admin, you can set up a custom absence calendar for your workspace.
- Go to the Time off tab in the workspace settings
- In the Workspace Absences section, click on the Add button to create a new absence
- Give the absence a suitable name, select the date or date range, and decide whether it applies to all regions or only specific regions
- Once saved, the absence will automatically be reflected in the workload of all users, or those in the specified region
- At the top-right corner of this section, you’ll find a gray arrow allowing you to switch between years – perfect for planning offsites for the upcoming year
With workspace-wide absences, you can ensure that your next offsite or company event is factored into your team’s workload from the start.

Select timeframes for the workload view
[.toc-name]Timesframes fot the workload view[.toc-name]
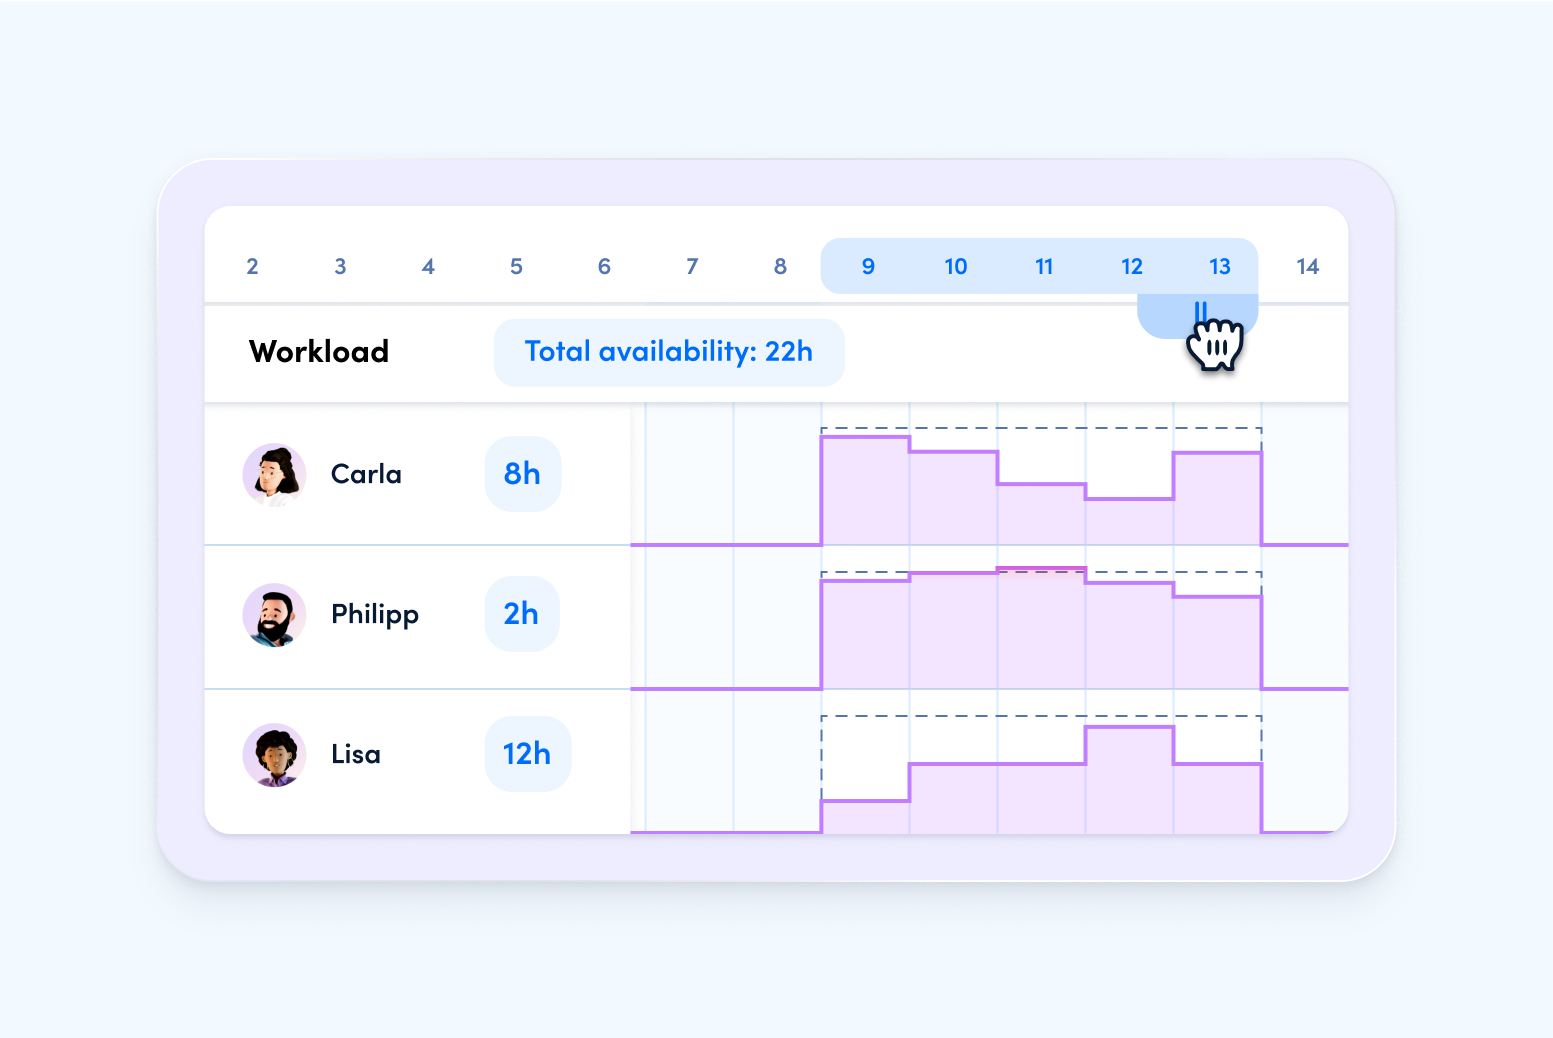
With the new timeframe selection, you can instantly see how much capacity your team has available in a specific period. Whether you’re planning a large project or need to assign a quick task, this feature gives you a clear view of your team’s available capacity for selected timeframes, allowing you to assign tasks to the team members who have the most resources.
Here’s how:
In the planner, simply click on a date and drag to select a range in the timeline. In the Workload view, you’ll instantly see the individual capacity of each team member (as usual), and now – the summed total capacity of the selected users. Your selection is automatically saved and remains until you manually delete or change it. You can adjust the range at any time to see updated capacities immediately.
[.b-important-block]By clicking the "Sort by availability" button, you can sort your team members by their free capacity. This way, you’ll quickly see who is most available to take on the next task. The button only appears when you’ve selected a date range.[.b-important-block]
[$tag]💡 Tip[$tag]
📌 Example: Imagine your team receives a last-minute client project with a deadline in two days. You know your team is almost fully booked, but the new task still needs to be distributed efficiently. Luckily, you can easily find your team’s available capacity – thanks to awork’s practical timeframe selection. Open the planner, choose your team in the workload view, and instead of checking each day and user individually, simply click and drag to highlight the next two days in the timeline. You’ll instantly see how much capacity your team has left in that period. With one click on the Sort by availability button, you can also see who has the most capacity to take on the task. Simple, right?

Hide done tasks in the workload view
[.toc-name]Hide done tasks in the workload[.toc-name]
From now on, you can hide done tasks in the workload view with just one click. The new Done shown button lets you toggle completed tasks in the timeline on and off. A single click hides them, and another click shows them again, allowing you to view all done tasks for the respective users.Use this feature to focus on only the tasks you need for your planning and maintain a clearer view of your resources.
Improved view for large lists
[.toc-name]Dynamic lists[.toc-name]
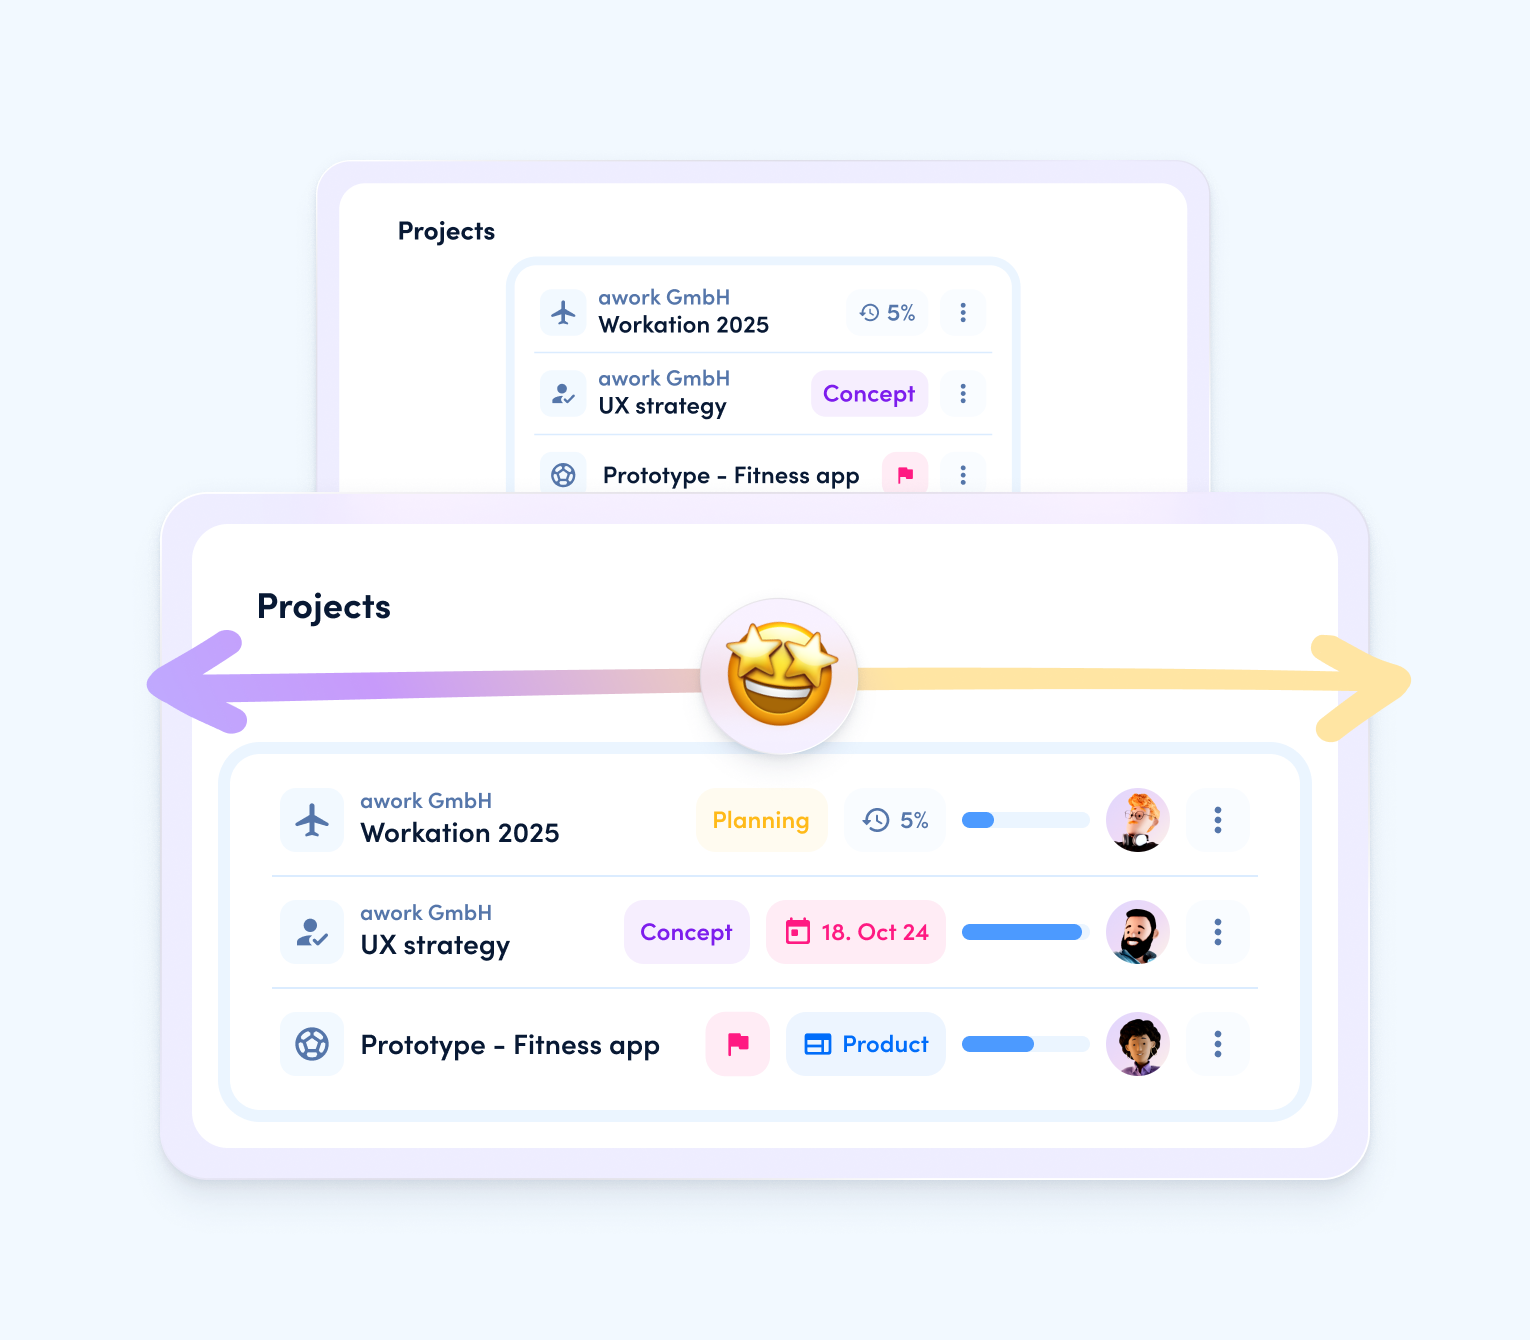
Lists in awork now make better use of the available space on your desktop, instantly showing you more information – without the need to adjust your screen zoom. Task and project lists dynamically adjust to different screen sizes and always fill the full width. Depending on whether you resize your awork window larger or smaller, the list will switch between the wide-screen mode with a column view and the compact mode with only the most important details, while still utilizing the full width of your browser window.
[.b-important-block]To switch to the wide-screen mode with the column view even faster, maximize your browser window and collapse the sidebar.[.b-important-block]
[$tag]💡 Tip[$tag]
With these improvements to large lists, you now have more space to comfortably read and edit all your information.
🔜 With the improved adaptation of large lists to screen size, we've created a solid foundation for working with extensive task and project details. In future releases, we plan to further optimize these lists and provide the ability to display even more details in columns.

Optimized navigation with the forward and back button
[.toc-name]New forward button[.toc-name]
We’ve simplified navigation in awork by adding a forward button. Now, you can quickly and easily switch between your previously viewed screens in awork. The navigation history is saved per window or tab, and it resets when you reload. You can navigate back and forth within sub-navigation (e.g., projects, settings, etc.) as well as task lists. The navigation remains visible even when the side menu is collapsed.
💡 The new forward and back button is especially useful for quick navigation in the awork desktop app.
Ready for your next holiday spritz?
[.toc-name]Ready for your holiday spritz?[.toc-name]
With the holiday spritz release, you can optimize your planning across several areas in awork. Thanks to the ability to add public holidays and workspace-wide absences, as well as hide done tasks in the workload view, you’ll always have full clarity over your team’s capacity and can plan resources more efficiently. Plus, with the improved list view, you can now display all the essential information directly within the view.
What are you waiting for? By setting workspace-wide holidays, you’re doing your team a big favor by preventing tasks from being scheduled on days off. At the same time, you ensure more precise capacity planning, leading to greater efficiency in your project work.
[.b-button-primary]Try it out now![.b-button-primary]


